|
27th Sep 2009
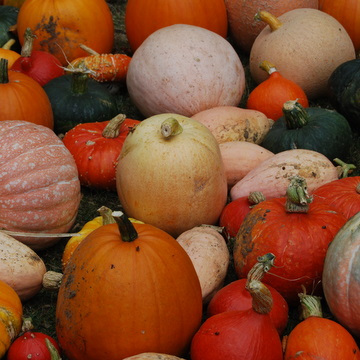
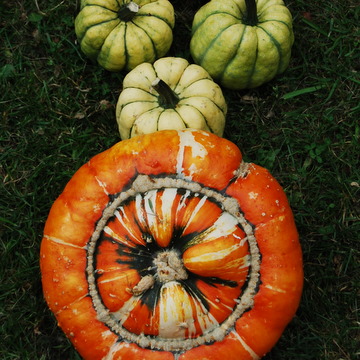
Helen: This time of year the larder is heaving with squashes – pumpkin, courgette, yellow crookneck, acorn, butternut, ambercup, hubbard, banana, trumpet, solaire, pattypan, spaghetti, fetuccini and so on. We saw an amazing display of squashes and pumpkins at Thornage Hall. Have you ever seen such a variety?
Tamsin says her favourite tasting squash is one that is just plain baked, cut in half, seasoned with a tad of salt and pepper and massaged with olive oil, put on an oven tray and baked for 30 to 60 minutes depending on the size and texture of the squash – so not an exact science. The most important thing is to bake them until they come out all toasty. Squashes cooked in this fashion are one of the best winter warmers.
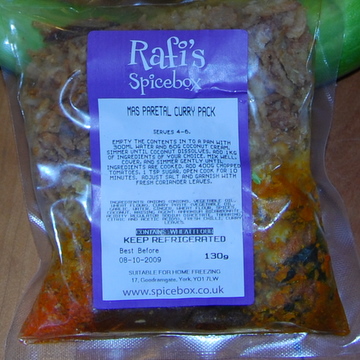
JOE’S RAFI-EMBELLISHED SQUASH EXTRAVAGANZA Joe: This is how you make an extraordinary squash extravaganza. You will need to visit Rafi's store and select one of their homemade curry packets. Go to their on line store here or have a person pop to the shops opposite York Minster and pick one up fresh from the shop. For the squash challenge, I chose a special family recipe called MAS PARETAL. Open the yummy ingredients packet from Rafi's and put it in a capacious pot on the stove and warm gently with 30 ml of a good vintage water from the tap.
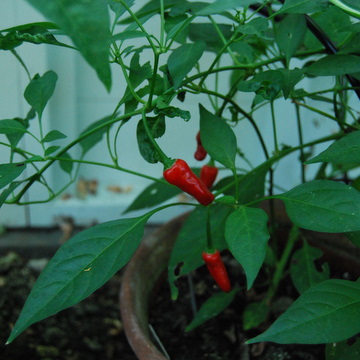
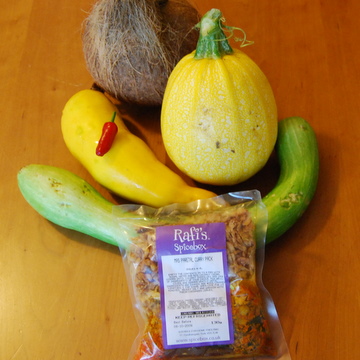
Next I went to the garden and selected the first chilli of the season. Then I photographed this delightful vegetable with the companions for this recipe: three squash, one coconut, one chilli.
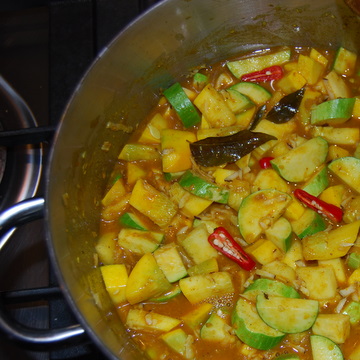
Cut the squash into small slices, add to the curry mix and stir well. Slice the chilli and add a second if you want to blow your head off. As the squash starts to cook you need to tackle the hairy fruit or seed or nut that is called the coconut.
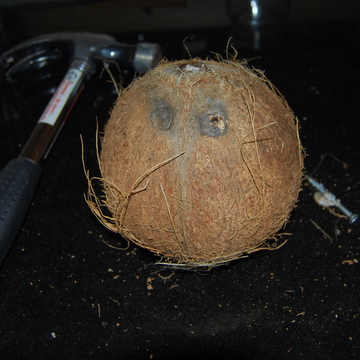
Breaking into the coconut requires specialized skills and equipment. There are three eyes at the top, but only one will work! Whack a big hole through it and pour out the milk into the squash pot. Then comes the fun part. Wrap the nut in a cloth and let out your anger with a hammer, don’t hold back! Once it is well and truly smashed (but not too small so that chunks of coconut can be hand-held) take off the outside shell and grate the inner coconut flesh. Use the larger side of the grater to shred the coconut and add all to the curry mix.
Cook for 15 minutes stirring every so often until the squash is squashed in the mix and eat. Recommended: sides of mango chutney, lime chutney, and yogurt liberally sprinkled with shredded cucumber.
Ingredients:
1 Rafi's curry 30 ml fresh tap water 3 squash 1 chilli 1 coconut 17th Sep 2009
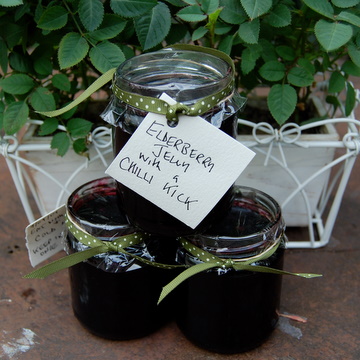
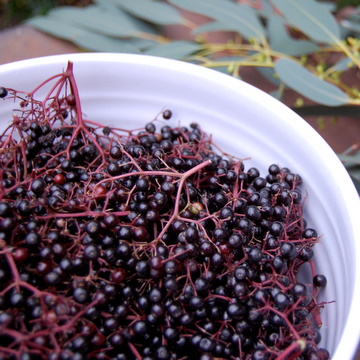
Jane: There’s a sprawling elder bush just over the river from us which has been dripping glistening black elderberries for the last couple of weeks, desperate to be made into elderberry jelly. So finally we obliged. But instead of spread-on-bread-jam I wanted to make something with a kick, that you could eat with cold meats and cheese. Aha! Just add chilli! Surprisingly, the kids loved this jelly, and what’s more it offers fantastic protection against winter colds and flu – take a daily dose as soon as you feel a sniffle coming on.
This made nine 8oz jars, so scale down as you need: 1.2kg elderberries, stripped from the stalks 4 Bramley apples juice of 3 lemons 2 tsps crushed dried chillies (this makes it pretty tangy but you can add more if you like) 1.5kg preserving sugar Put the elderberries in a preserving pan with the apples, chopped into quarters (including skin and cores – elderberry is not high in pectin and this helps with setting). Add the lemon juice, chilli and 1.2 litres cold water. Bring to the boil, and simmer for about 20 minutes, stirring occasionally, until the elderberries and apples are soft. Strain through a jelly bag, leaving to drip until all the juice is collected (you can throw away the pulp). Put the liquid into the pan with the sugar. Bring slowly to the boil, then simmer until it reaches setting point at 105ºC (use a jam thermometer). Spoon into sterilised pots, cover with a waxed disc and cellophane round. 9th Sep 2009
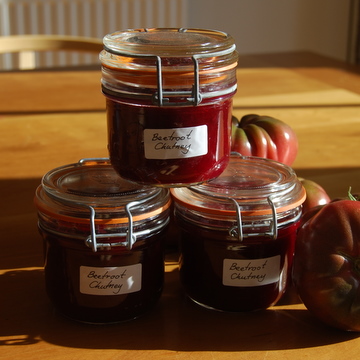
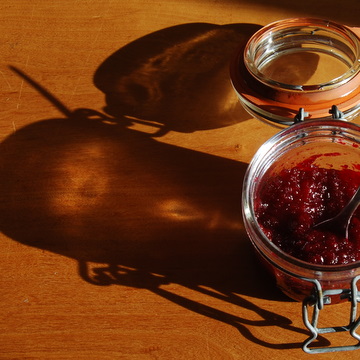
Tamsin: This is the season when I seem to be peeling and chopping whenever I have a free moment in an attempt to preserve all that the garden is producing. I've made many different types of chutney in my time but this year's beetroot one is truly scrumptious - deemed so delicious by my husband that he immediately banned me from giving any of it away!
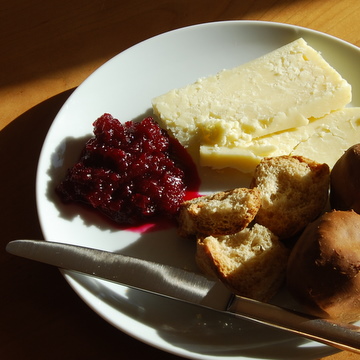
He is right though - it is so scrumptious that I want to keep it all to myself and am already getting anxious that we are wolfing through the pots too fast. My favourite accompaniment to it is a slice of Cheddar and a Dorset Knob (I managed to get a packet of these teeth-crunching snacks despite a countrywide shortage, something to do with the new machinery at the factory. So if you see a pack anywhere, grab it.) If you want to give yourself something to look forward to at lunchtime, try out this recipe and the late summer will be with you for that much longer...
Beetroot Chutney
1kg raw beetroot 350g onions 450ml white vinegar 350g cooking apples 1 tsp pickling spice 4-6cm piece of root ginger 1 tsp ground ginger 1 lemon (juice and rind) 350g sugar Wash and cook beetroot. When cool, peel and dice. Peel and dice the onions, put them into a large saucepan with a little of the vinegar, and cook until soft. Wash, peel, core and chop the apples, add them to the pan. Tie the pickling spices in a muslin bag and add it together with half the remaining vinegar to the onions and apples. Grate the root ginger and add this together with the ground ginger, grated lemon rind and juice. Cook until very soft, stirring occasionally and taking care not to burn. When ingredients are cooked add the remainder of the vinegar and the sugar, heat gently, stirring well until the sugar had dissolved. Boil steadily until the chutney is thick. (I then whizzed it with my hand held blender to give it a smoother finish, but the consistency is up to you.) Pot and seal in jars that have been pre-heated in a low oven. 2nd Sep 2009
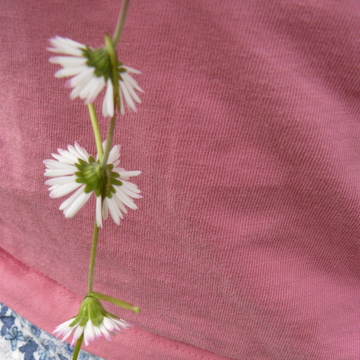
Helen: Five-year-old Hester looked with admiration at the craft projects on the heartandhome webpages and her main aim of the day was to create some artwork and contribute her own project to this website. So before I had my act together to think up what we could do, Hester had surveyed the garden and decided on a flower theme. First of all she made a daisy chain and this is her instruction on how you do it:
Hester: 'Find some nice grass with white flowers that are called Daisy. They are yellow in the middle and I find them in grass at the park and in the garden. Pick each flower with a long stem. It’s good that my Mum has not cut my fingernails. I need my nails to make a hole in the stem. This is the difficult bit and sometimes it goes wrong and the daisy head falls off. You have to make a hole in the stem so you can push the next daisy through the hole. And this way you can make a chain. If you have a few daisies you can make a bracelet and if you have lots of daisies you can make a necklace. Here is my daisy chain and this is what it looks like when it is done and then you attach the last one to finish the loop. This one is a long one for a necklace. Here it is!'
SEED COLLECTION AND STORAGE
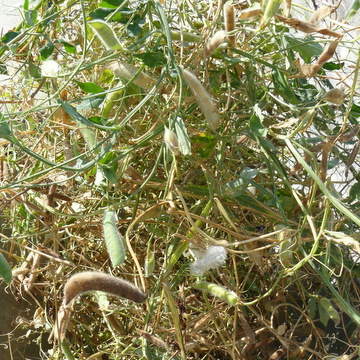
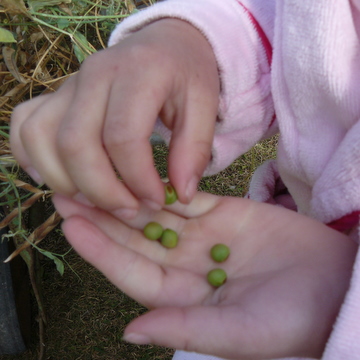
Hester had a great time picking all the sweet pea seed heads off with a pair of scissors and collecting them on a huge tray. We put these out in the sun for an hour to make sure they would dry out fully.
Walking around the garden with Hester we found one of her favourite flowers for the spring, granny bonnets, and their latin name is Aqualegia and they are blue, purple, red, pink in this garden. We cut the flowerheads off with kitchen scissors and held the collecting tray close underneath because otherwise you lose lots of the seeds which spray around everywhere.
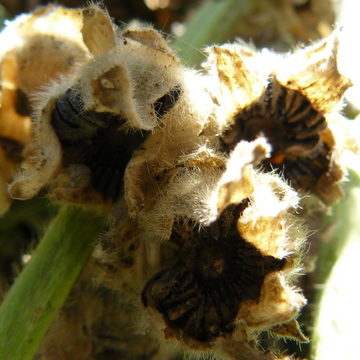
Next we found some lovely hollyhock flowers going to seed. So we cut these off a bud at a time using the kitchen scissors. Hester put her thumb in the flowerhead and turned it around in a circle which made all the seeds shake free. We collected these in another tray and put them out to dry in the sunshine.
Hester really enjoyed the next part of our seed-collecting project which was to organise the containers to keep the seeds in over winter. You need to think about how to keep the seeds in a dry and dark place so you can plant them out in the garden next spring. Hester used some small boxes she found in the recycling which she decorated with spring flower labels to take home and plant in her London garden. It was very important for Hester that these containers be decorated with labels, so you know which flowers will come from the seeds you have collected.
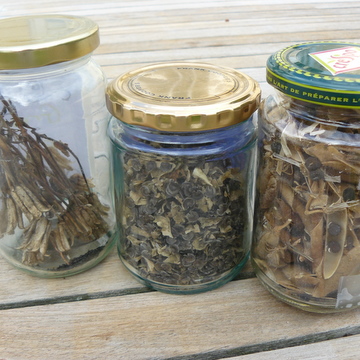
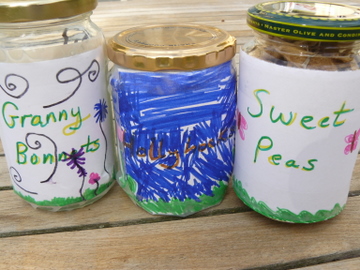
You can also use old jars and these are the best method to keep the seeds dry for the next six months. We went through the recycling and cleaned out an olive, a marmalade and a peanut butter jar and dried them out in the sunshine too. Meantime, Hester made a set of labels with pictures of the flowers: sweet peas, hollyhocks, granny bonnets, one for each jar. These jars will go on the shelf in the garden shed here because they are for Tamsin to plant up with Joe and Carla next spring.
|

|

